What are Attachments?
Attachments provide additional context about the Task. Both Regular and Installer users can upload Attachments to a Task.
Attachments can include Photos (JPEG and PNG files), and PDF files
Why are Attachments helpful?
Attachments enable a second form of communication on the job site to help answer any questions.
This provides a space where images directly from the job site can be shared with the office or vice versa.
Attachments help Installers identify an object on the job site before starting their Task.
Some Attachments can include, before and after photos of Tasks, PDF plans for the Job, and options selected by the Homeowner.
How to add an Attachment to a Task
Web Portal:
-
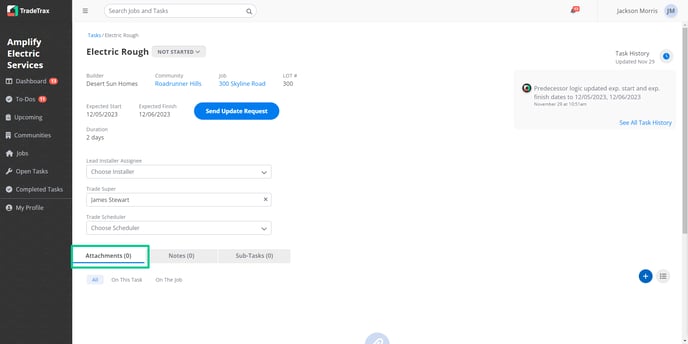
Navigate to the details view of the Task you wish to upload an Attachment to
-
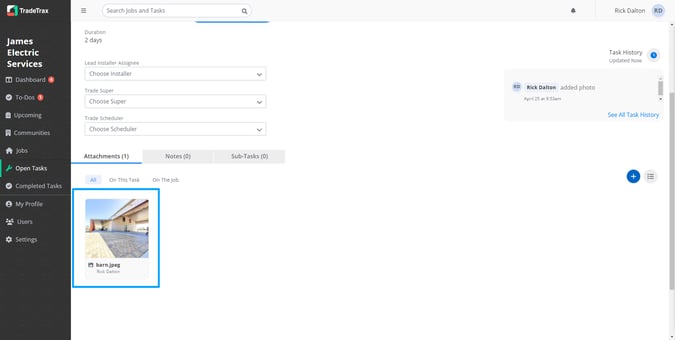
Click on the Attachments tab at the bottom
-
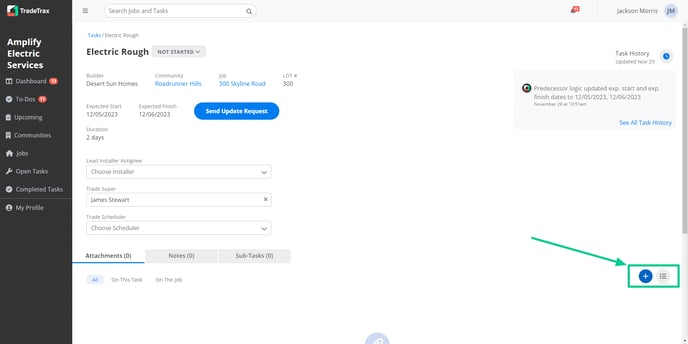
Click the plus icon to open the uploader window
-
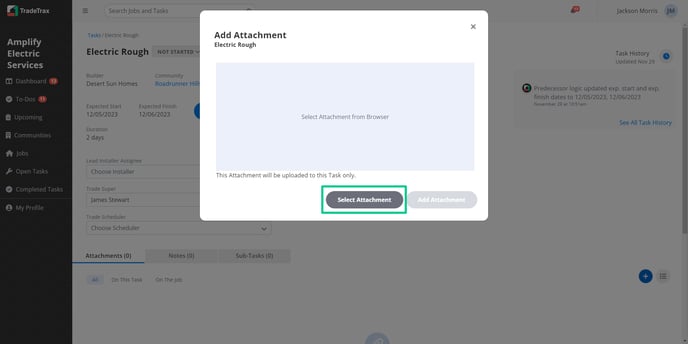
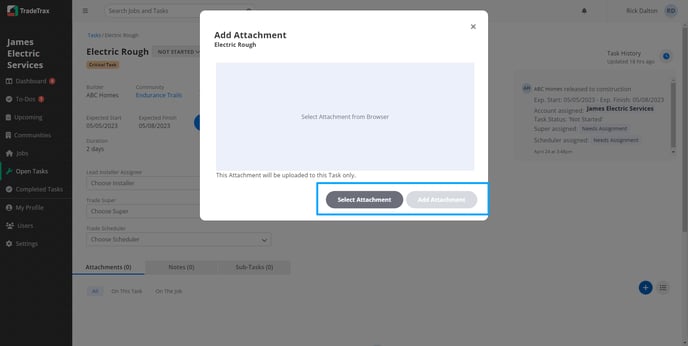
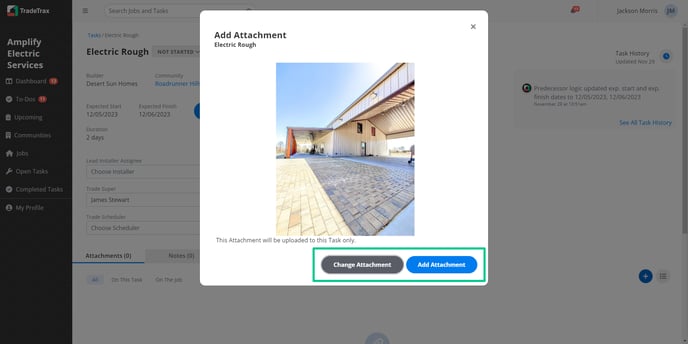
Click on the Select Attachment option to browse photos or PDFs from your computer
-
Once you have selected the photo or PDF, you can preview them
-
Once you make sure the content is correct, click Add Attachment button
-
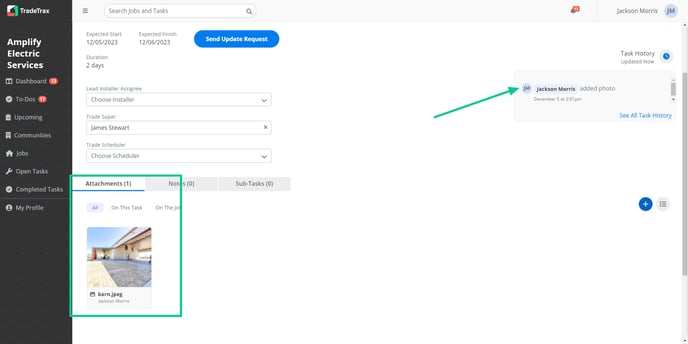
The Attachment will now be displayed on the Task as a thumbnail
-
A confirmation message will appear once you have successfully added an Attachment to the Task
Mobile App:
-
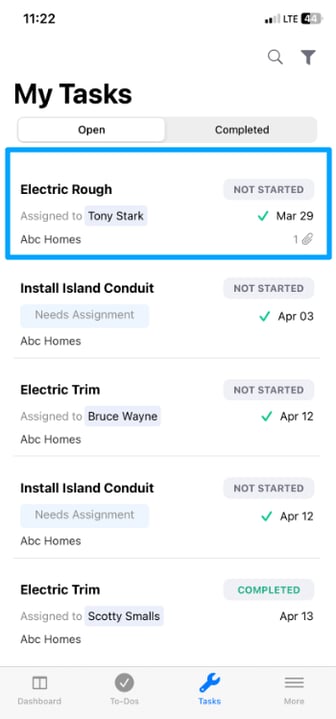
Navigate to the details view of the Task you wish to a Photo to
-
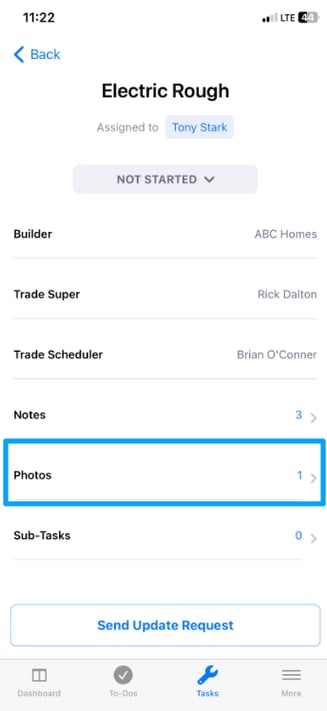
Scroll down to find the Photos reference
-
Tap the Photos reference to open the Photos sub-section
-
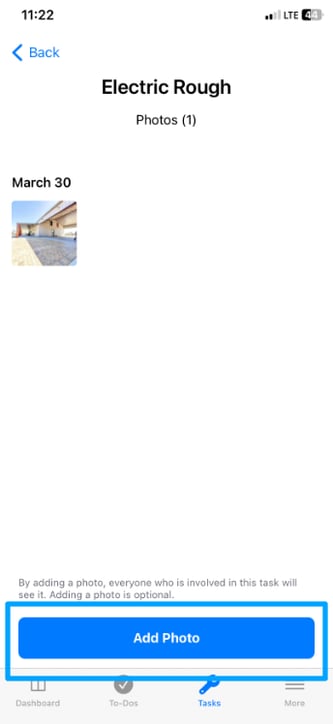
Tap the Add Photo button
-
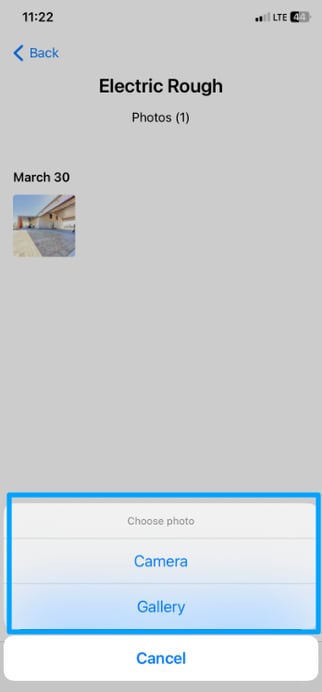
Select:
-
Camera - To capture a photo from your mobile device
-
Gallery - To select a photo from your mobile device
-
-
Once you have captured or selected a photo from your mobile device, it will now appear in the Photos sub-section
NOTE: PDF upload and preview are only available on the web portal currently.
How to remove an Attachment from a Task
Web Portal:
-
Navigate to the details view of the Task you wish to remove the Attachment from
-
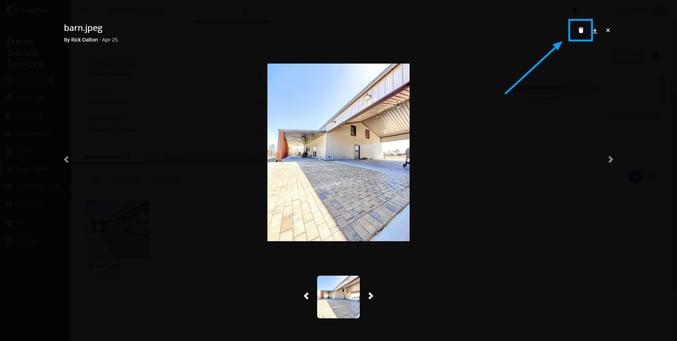
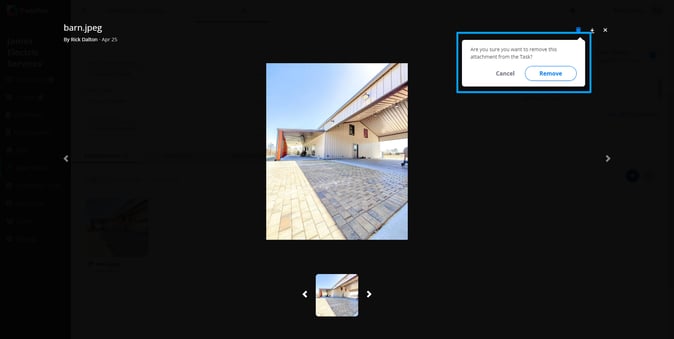
Click on the Attachment to open the preview
-
Click the trash icon present at the top right of the preview, this will open a pop-up mini-window
-
Click on the Remove option on the confirmation message
-
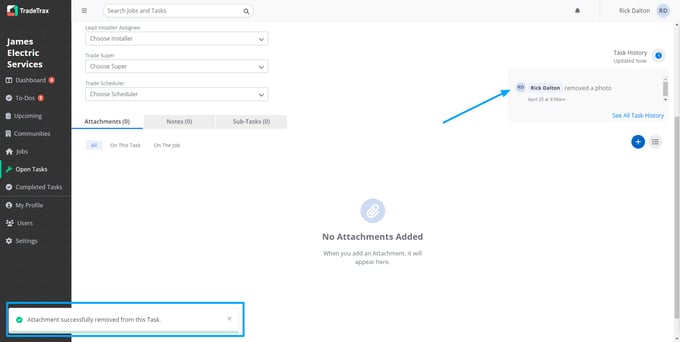
The Attachment will now be removed from the Attachments tab
-
A confirmation message will appear once you have successfully removed an Attachment from the Task
NOTE: Removal of Attachments is only available on the web portal currently.